Large Format course Nov 2012 part B
December 1, 2012
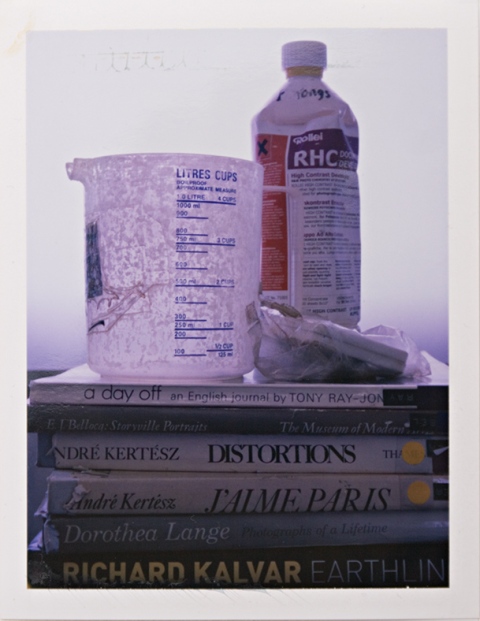
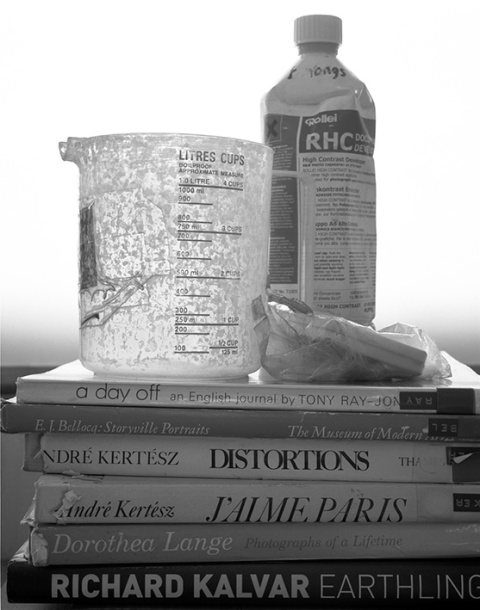
A summary of week two of the course, where we worked with still life and portraiture. The main idea with still life was to introduce the concept of bellows factor – compensating for light lost by extending the bellows for close focus. This was done with the Crown Graphic 4×5 with a Graflex Optar 135mm lens. We were also looking at what aperture might be required if you want a reasonable depth of field. In this case the aperture was set to f/32 and the bellows extension required one stop to be added, giving a shutter speed of one second on Tri-X 320. We exposed two sheets with identical exposure, something that is reasonably common with large format, particularly with important shots. The second sheet might be processed differently once the first sheet has been checked, or it might be a back up in case the first sheet gets damaged.
 Fuji instant test at 3 seconds.
In this case the first sheet looked fine in Rodinal 1+50 for 15 minutes, so as a test I processed the other sheet in Xtol 1:1 for 11.25 minutes. I haven’t processed large format Tri-X in Xtol and wanted to see if the time suggested by Kodak was correct for how I develop and also to see if there was any noticeable difference from the Rodinal processed sheet. In this caee the processing looked fine and there is no significant difference that I can see.
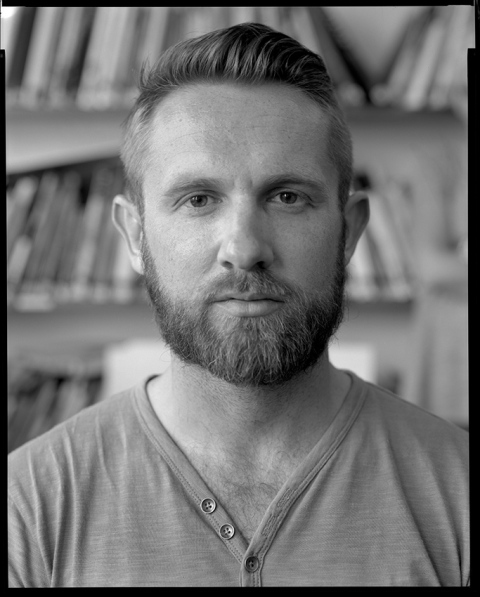
The second part of class was about using the 8×10 camera for portraiture. It might have been interesting to work outside, or to make group portraits, however time constraints meant the best option was to do individual portraits with window side light. We started by framing Jon for head and shoulders and found that the 300mm lens required about 430mm of bellows to focus on his eye. As a quick test we exposed a sheet of 8×10 glossy RC paper at ISO 6 and processed in the darkroom to a paper negative. This is very contrasty but functions as a fast and cheap Polaroid alternative.
The film exposures were made on Ilford HP5 at f/16 at 1/2 second. I spot metered both sides of his face and there was about a 3 stop difference. Spot metering the eye on the shadow side gave a reading of EV 9 and I then added one stop for the bellows extension and one stop for speed loss in Rodinal to arrive at the exposure decision. The film was processed in Rodinal 1+25 constant rolling in a Jobo 2830. I used pre-soak and acid stop before and after. The neg prints well on glossy RC with a 1.5 contrast filter. The specific dev used was Maco RO9 which I believe comes from the same factory and is made to the same formula as Adonal and Agfa Rodinal. I process as if they are the same and the results are the same, so I find it simplest to refer to them all as Rodinal.
The other sheets were exposed and processed the same. I tried to organise it so each student had a go at focusing, inserting the film holder and making the exposure, along with being photographed. This was the end of the two week course – I’m putting the scans here so the students can see them.
8×10 300mm at f/5.6
November 7, 2012
October portrait with 8×10 Deardorff camera and Rodenstock Siranon N 300mm lens
Ilford HP5 rated at 200 as it was to be processed in Rodinal. Opened up another stop for bellows extension. Exposure was f/5.6 at 1/30 which is wide open on this lens and gives almost no depth of field. I would have stopped down a bit but didn’t want to risk a slower shutter speed. The film was processed by rolling in a Jobo 2830 paper drum in a sink. Dev was Rodinal 1+25, 8 minutes constant rolling at 20 degrees. Film was scanned on an Epson V700, emulsion side down on the glass.


